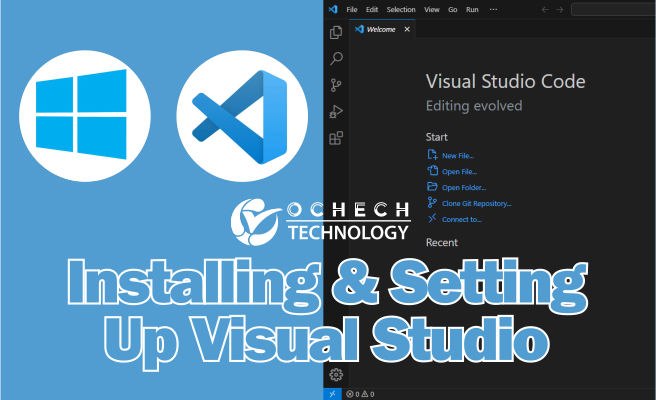
Installing & Setting Up Visual Studio Code for Website Design
Hello there! I'm excited to be your website design teacher, and today, we'll embark on a journey to set up Visual Studio Code (VS Code) for your web development projects. Visual Studio Code is a popular and powerful code editor that's loved by developers worldwide for its versatility, extensive features, and strong community support.
In this tutorial, we will guiding you through the installation process. Whether you're on Windows, macOS, or Linux, we'll ensure you have VS Code up and running on your machine.
Before we dive in, let's ensure you have the necessary prerequisites:
- A computer running Windows, macOS, or Linux.
- A web browser (preferably Google Chrome, Mozilla Firefox, or Microsoft Edge).
- An active internet connection (for installation and online resources).
- Basic knowledge of HTML, CSS, and JavaScript. If you're not familiar with these languages yet, don't worry.
Installing Visual Studio Code
Visual Studio Code is a powerful, open-source code editor that's widely used for web development and programming projects.
Step 1: Downloading Visual Studio Code
To begin, open your web browser and navigate to the official Visual Studio Code website: https://code.visualstudio.com/Download.

Once you're on the website, you'll see a "Download" button prominently displayed on the homepage. Visual Studio Code is available for Windows, macOS, and Linux, so make sure to click on the appropriate download link for your operating system.
Step 2: Installing Visual Studio Code
For Windows:
1) After downloading the installer for Windows, locate the downloaded file (usually named something like VSCodeSetup.exe) in your Downloads folder or the location you specified for downloads.

2) Double-click the installer to start the installation process.

3) You may be prompted by User Account Control (UAC) to allow the installer to make changes to your device. Click "Yes" to proceed.
4) The installer will guide you through the installation steps. By default, VS Code will be installed for all users on the system. You can choose to install it just for your user account if needed.

5) After selecting your preferences, click "Next" or "Install" to begin the installation.


6) Once the installation is complete, click "Finish."

Step 3: Launching Visual Studio Code
After installation, you can launch Visual Studio Code from your system's application launcher or by searching for Visual Studio Code in the search bar.

Step 4: Updating Visual Studio Code (Optional)
Visual Studio Code receives regular updates with bug fixes and new features. It's a good idea to keep it up to date. You can enable automatic updates, or you can manually check for updates by going to the Help menu and selecting Check for Updates.
Congratulations! You have successfully installed Visual Studio Code on your computer. Happy coding!
Related Posts


Join Our Mailing List
For receiving our news and updates in your inbox directly.